Photo Story enables you to turn a selection of images into a movie like presentation with audio. It lets you drag images onto a window, arrange them as needed, then provide custom narration, transitions, zooms, pans, audio soundtracks, and/or custom auto-generated music, then export the result as a WMV file.
First, you need to install Photo Story.
Download Microsoft Photo Story 3 for Windows XP
Don’t be concerned, it works fine in Windows 10.
Double-click to install it
After installation, run it...

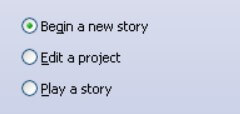
Select Begin a new story and then click Next
Click Import Pictures
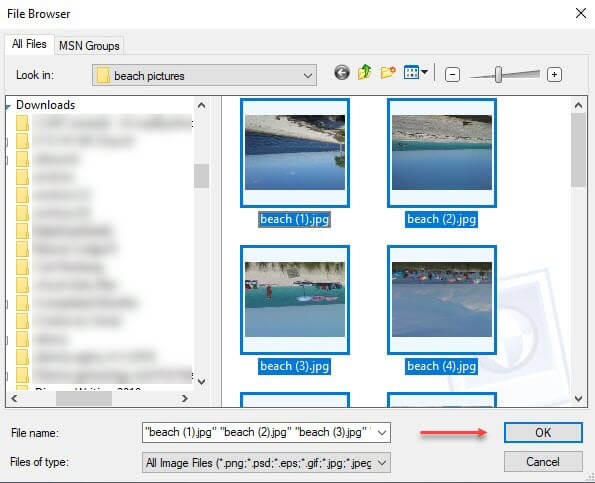
Locate the pictures you want to use, select them all, and then click OK
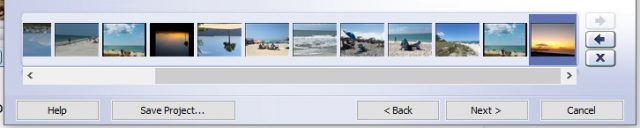
They are all added to the film strip. You can move the pictures by dragging them.
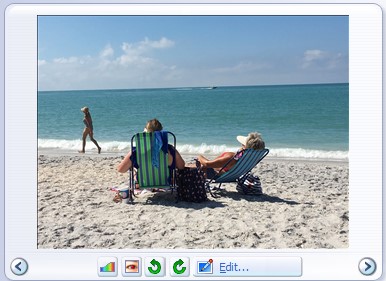
Click on a picture to view it in the larger window. When a picture is in the larger window you can add an effect to it by Clicking Edit...
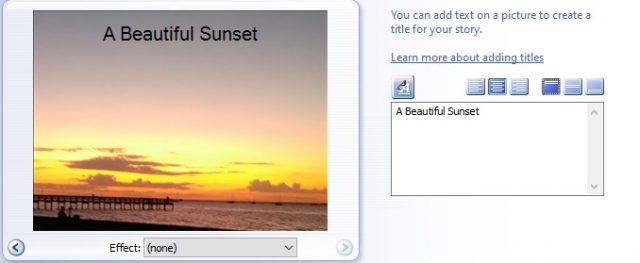
Click Next. To the right of the picture, you will see an editing block where you can add a title to the picture.
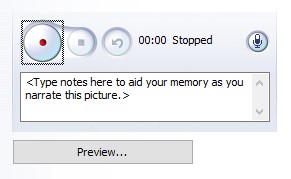
Click Next and then you can add narration to each picture if you wish.

Click Next again to choose the background music of your choice or computer-generated music.
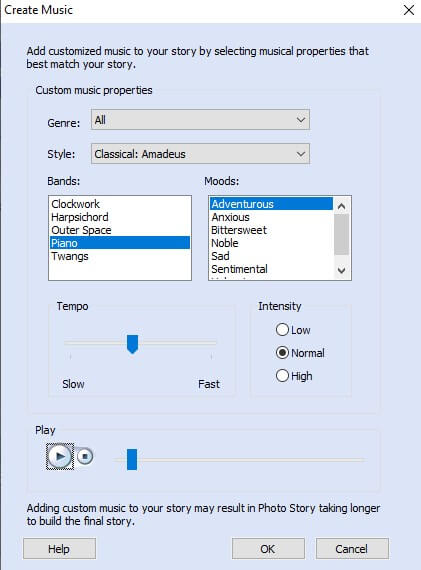
Click Create Music and choose one, then click OK.
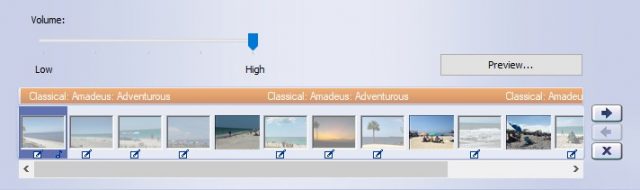
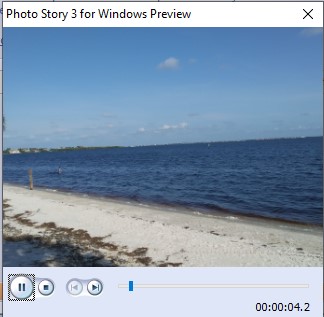
Click Preview to view and hear what you have created
Click Next to save your video and create a project file
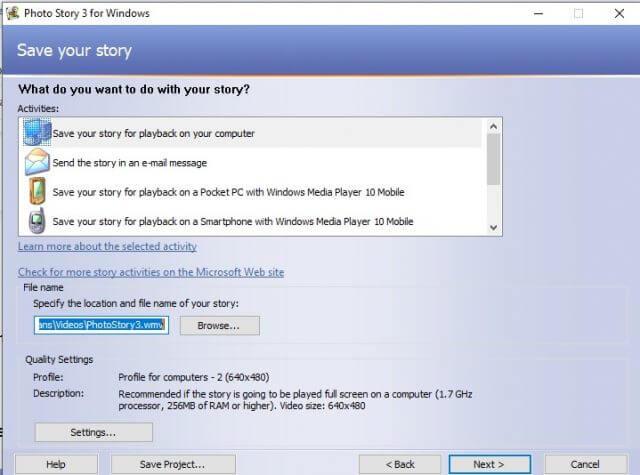
Your choice of output determines the size and quality of the movie file. In my opinion, the best version is one saved on your computer.
Always save the Project so you will be able to go back and make and changes. To do that, click Save Project...

Choose a location and a name, then click Save
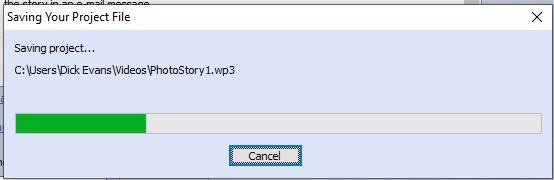
Then click Next to Build Your Story (your resultant video). This may take a while as it has to combine your pictures and the music.
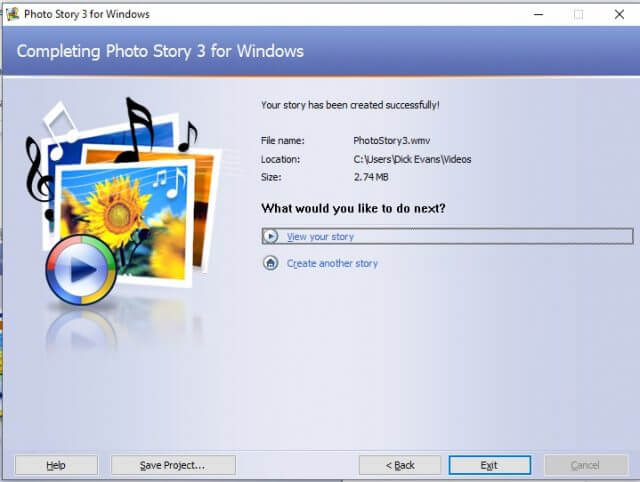
You are done. The project and video files have been saved. At this final window, you can View your story or Exit. You can always view the story later by locating it on your computer and double-clicking to open it in any video player such as Movies & TV that comes with Windows 10.
I find this an easy way to create a video of pictures I have taken for an event. It creates an animated slide show that can be emailed or posted on social media. There are many editing functions available I did not discuss here. You can move the pictures around, change the coloring, modify the transition between pictures, and more.
I hope you find it another useful addition to your toolbox.
No comments:
Post a Comment